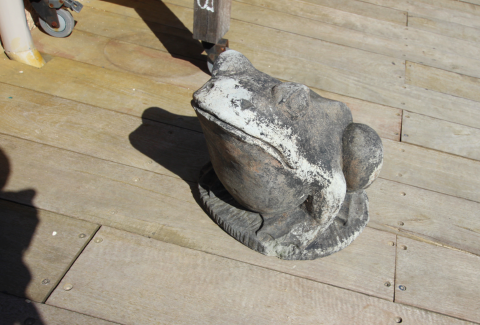
Shot 1
Shot 1

Shot 2
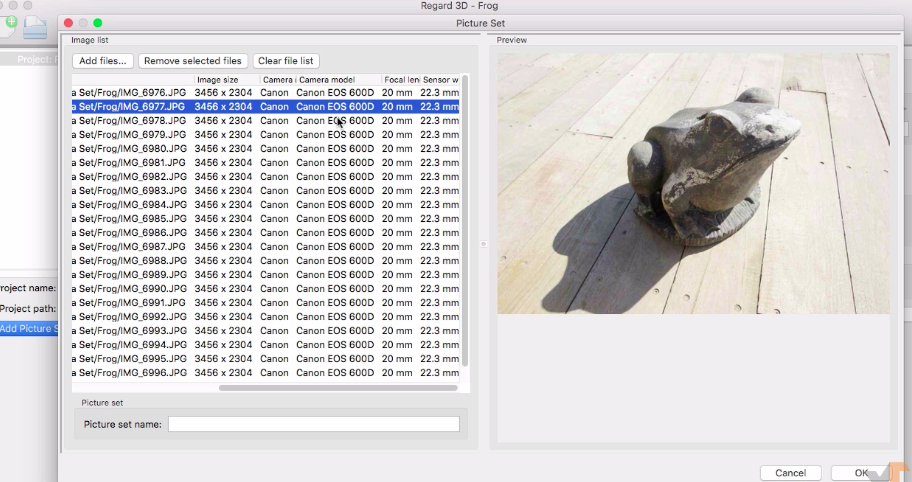
Importing photos

Computing matches

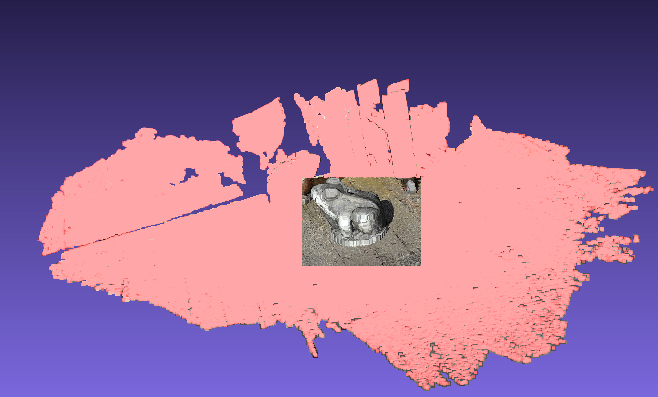
Generating a point cloud

Densifying a point cloud

Generating a mesh
Trimming
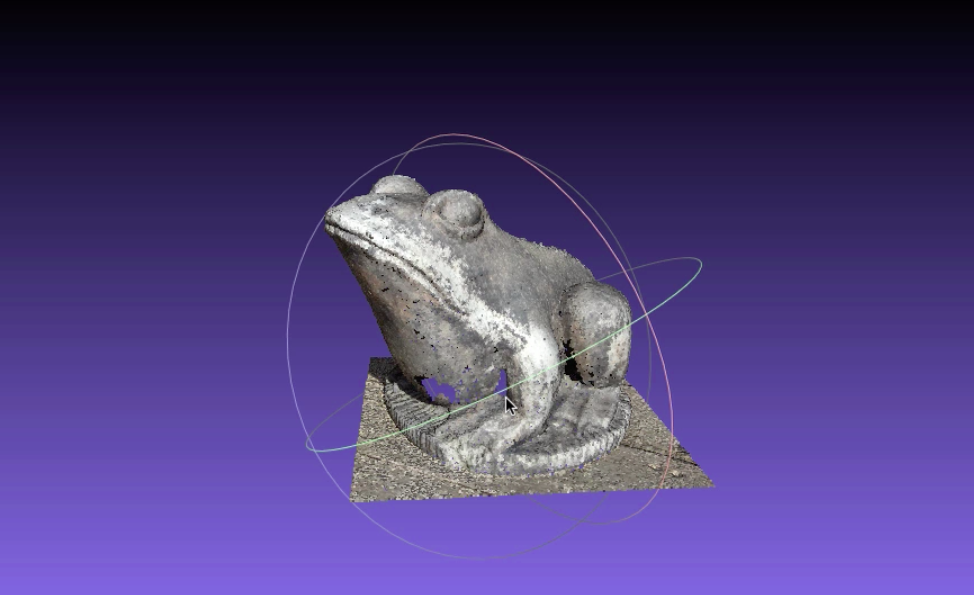
Final mesh for 3D model generation

Poorly-lit areas in the original photo may not generate point cloud

Poisson mesh generated in Meshlab

Retrimming unwanted points

Majestic resting frog